
Spring is finally arriving in New York City, and for many of us that means it’s time for a home refresh. While closets and storage spaces often get the spotlight during spring cleaning (see some Saged closets here), one category that’s frequently overlooked is paperwork.
From school forms and medical records to tax documents and household paperwork, these papers tend to accumulate quickly—and organizing them can feel far more overwhelming than tidying a closet or pantry.
In this month’s blog, we’re breaking down a simple, step-by-step approach to organizing your family’s paperwork so everything has a clear home, important documents are easy to find, and the system is simple enough to maintain long-term.
STEP ONE: FIND THE TIME
When organizing paperwork, the first step is setting aside intentional time to focus on the task. There are two approaches that work best.
Some people prefer to dedicate a single block of time—an afternoon or full day—to gather all of their documents and sort through everything in one focused session. This method works well for those who like to complete projects from start to finish in one sitting. Just power through!
Others find more success breaking the process into smaller, more manageable sessions. Setting aside an hour in the evening or tackling a stack of papers a few times throughout the week can make the project feel far less overwhelming.
Both approaches are equally effective. The key is choosing the structure that allows you to stay focused and minimize distractions so you can make steady progress.
STEP TWO: CREATE A CLEAR PLAN

Once you’ve decided how you’ll schedule the project, the next step is determining your sorting strategy. There are two methods we typically recommend.
The first is a location-based approach, where you work through paperwork one space at a time—such as a desk drawer, filing cabinet, or storage bin—until each area has been fully reviewed.
The second is a category-based approach, where you gather paperwork from around the home and sort it by type, such as medical records, financial documents, school papers, or household information.
Whichever method you choose, it’s helpful to establish a clear stopping point for each session. This could be a set amount of time, or completing a specific category or area. Organizing paperwork requires focus and decision-making, so it’s important to recognize when your energy begins to fade and step away when needed. Need some more motivation? Check out our blog with even more tips to jumpstart your next organizing project.
Even small sessions can make a real dent—and before you know it, that “big project” starts feeling a lot more doable.
STEP THREE: ACTION STEPS
Now that you’ve dedicated time and created a plan, it’s time to roll up your sleeves and dive in. Here’s how to tackle your paperwork efficiently, without feeling overwhelmed.

1. Gather your paperwork and supplies
Collect everything you plan to sort—whether it’s one stack for a focused hour or all the documents from across your home. Don’t forget those sneaky receipts and notes hiding in your junk drawer! (Stay tuned for a future blog on mastering that often-overlooked space 😉.)
Have a bin ready for recycling and tossing, and keep post-it notes on hand to label categories. These simple tools will help you work faster and smarter.
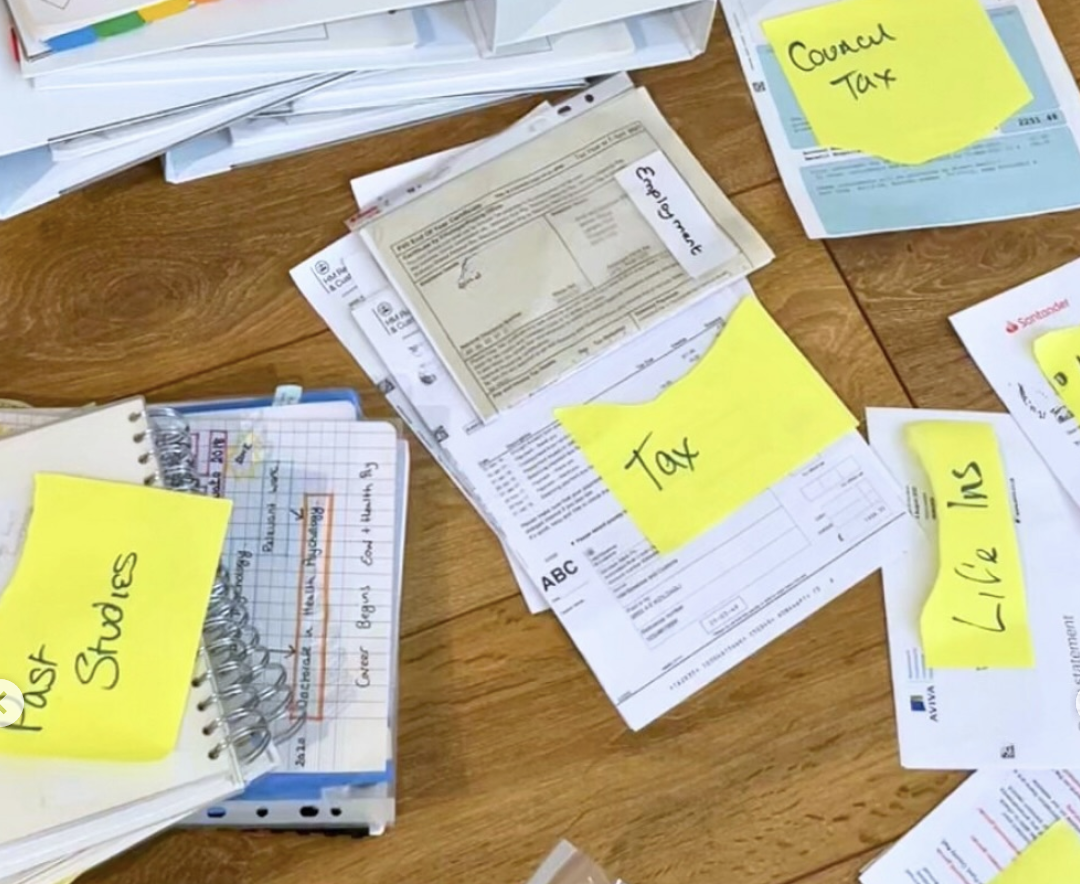
2. sort strategically
Use sticky notes to label each pile and create a new one whenever a new category arises. This removes the mental load of deciding where things belong, letting you move swiftly.
Papers for recycling go immediately into your recycling bin or bag.
Sensitive documents—anything containing personal information—should be set aside for shredding.
Documents you plan to keep should be labeled clearly with specific categories: Sally’s Schoolwork, Melanie’s Medical, Ian’s Investments, etc.
3. keep, recycle, and shred
KEEP
Tax documents: Last 7 years
Medical records: Last 2 years
Other important papers: Consider digitizing and switch to paperless billing and auto-pay
Pro tip: Only keep what you truly need. Digitizing reduces clutter and makes everything searchable.
RECYCLE
Bills: Most can be recycled; personal info is widely accessible
Junk mail: Recycle immediately when it arrives—don’t let it linger on counters
Old schoolwork & reference materials: Chances are, you’ll Google it before digging through old notes
Pro tip: Make recycling a habit—one minute per mail pile keeps the clutter away.
SHRED
Anything containing sensitive information:
Social Security numbers
Banking or credit card info
Tax paperwork older than 7 years
Feeling on a roll after you’ve done all that purging of paperwork? Keep it going! Now is an amazing time to purge and edit through other spaces in your home. Read our blog about the six key decluttering questions we ask all of our clients that change everything!
sTEP FOUR: SET UP YOUR SYSTEMS
Now for the fun part—creating systems that actually get used! Research shows that organizing systems are followed more consistently when they’re visually appealing, so here’s your official permission to make it pretty! Check out some of our favorite organized home office spaces here.
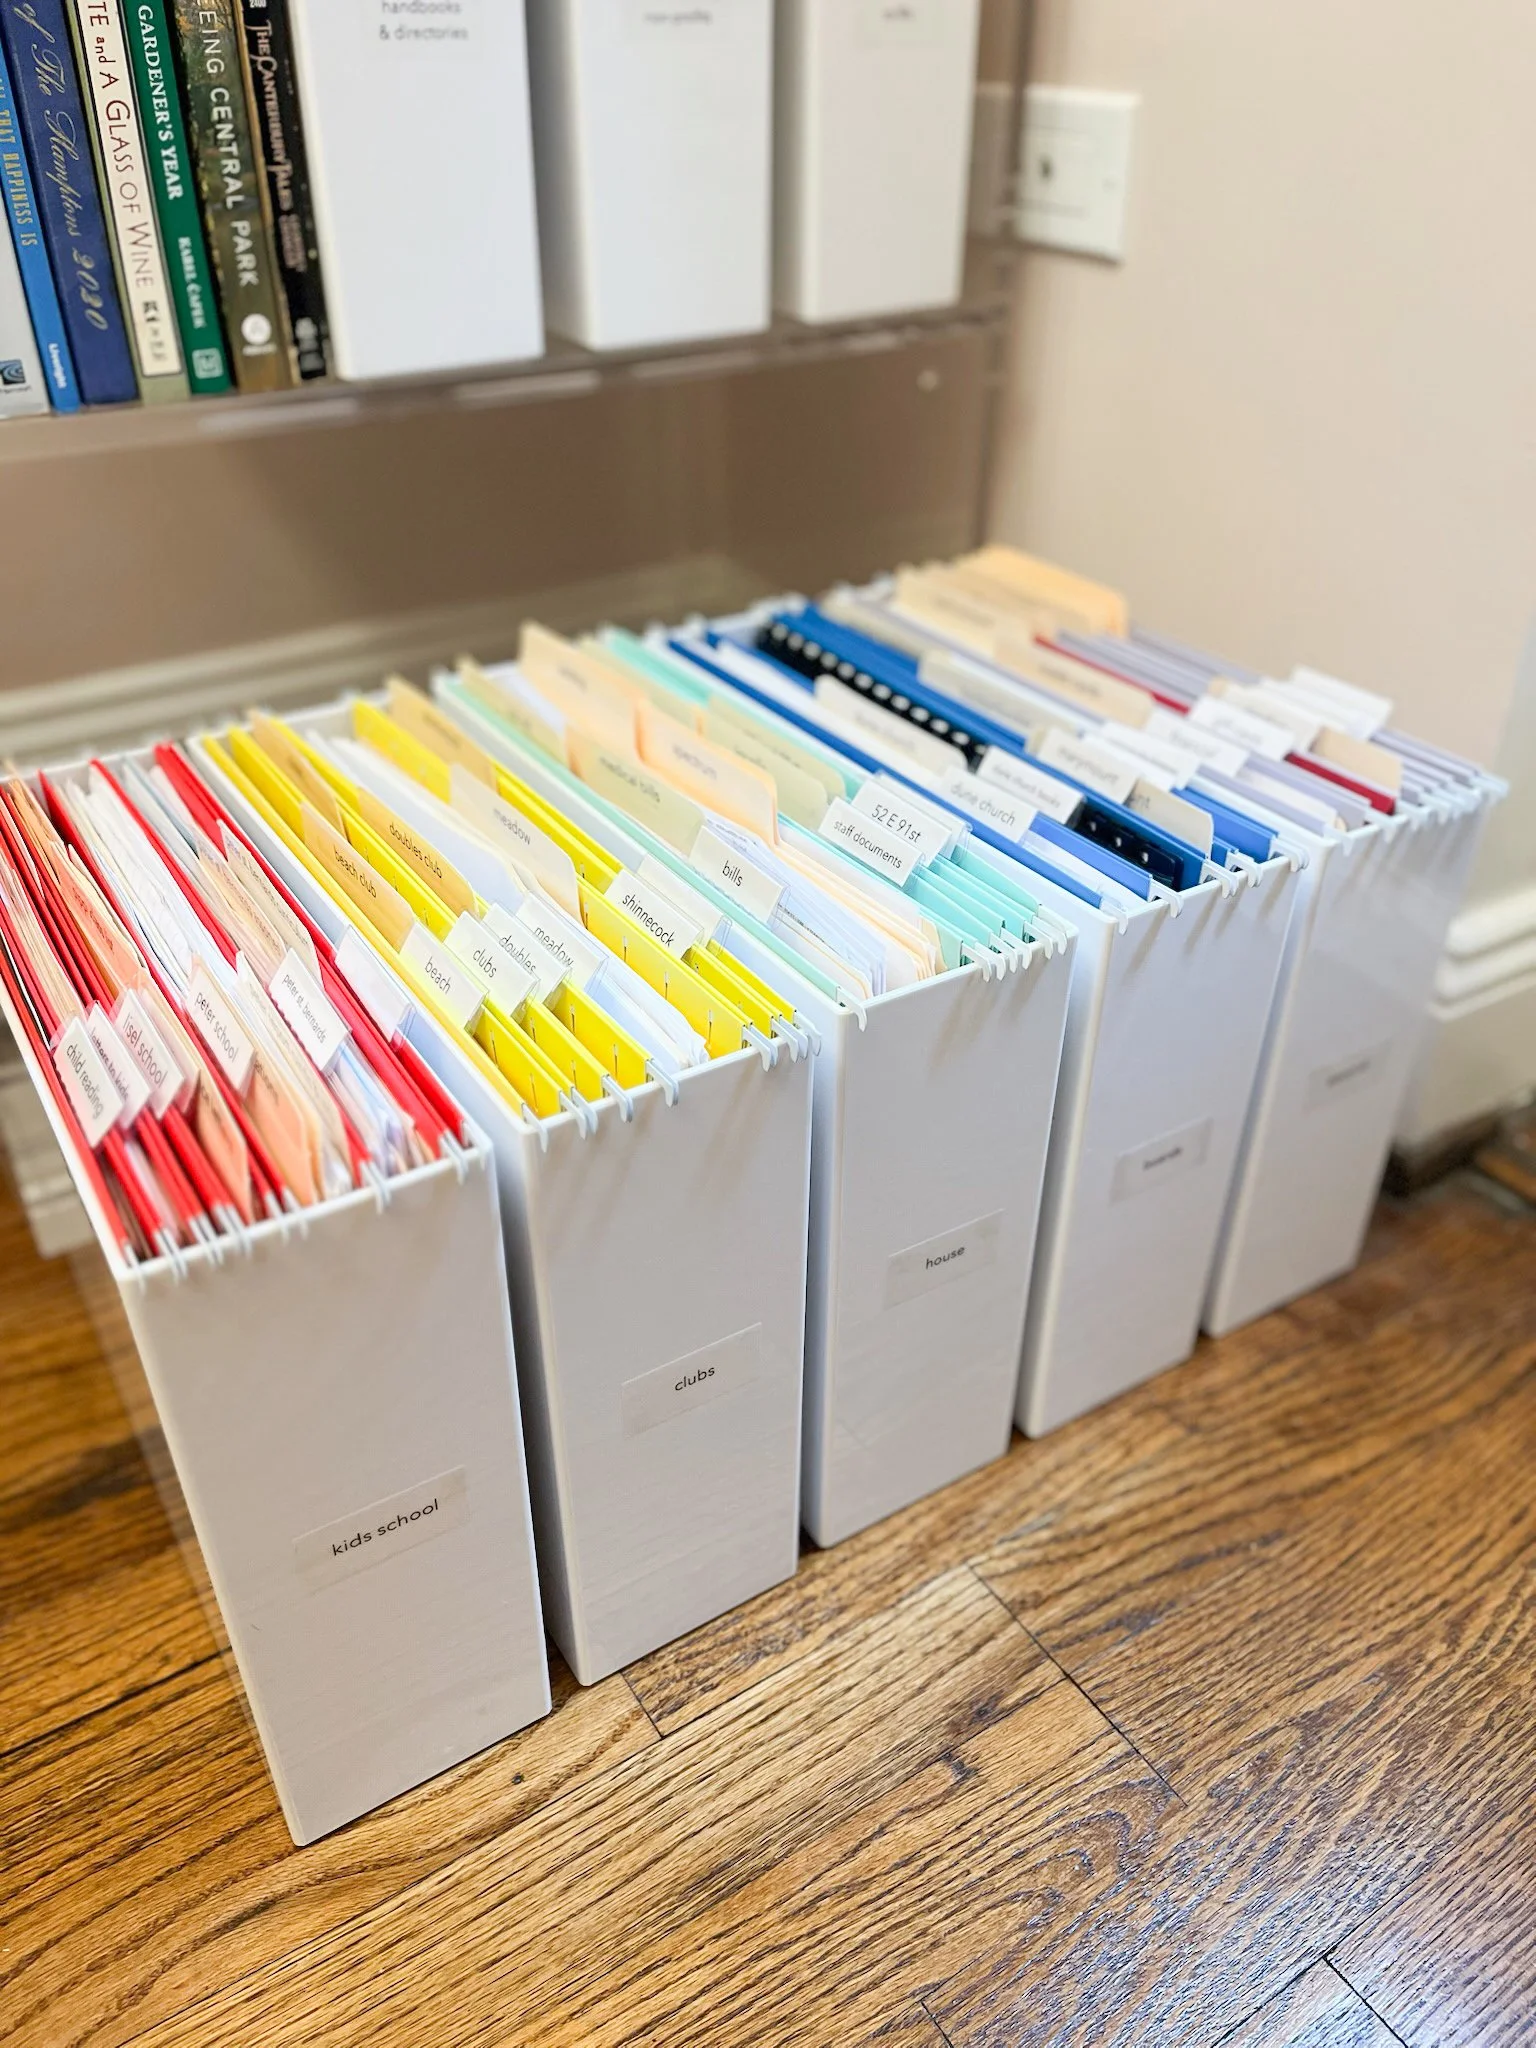
1. Combine hanGing folders and manilla file folders
Use hanging folders to create broad categories and slip in labeled manilla folders for subcategories. This keeps the hanging folder in place while letting you easily pull out the documents you need. Bonus: these come in all sorts of colors, so you can color-code by category or just choose your favorite hues.
2. label broad categories and subcategories
For example, your hanging folder might say Medical, and inside, separate folders could be labeled for each family member’s medical records. This structure makes searching effortless—you’ll always know exactly where to start without rifling through someone else’s files. We use the Brother p-Touch Cube label maker on all of our projects.
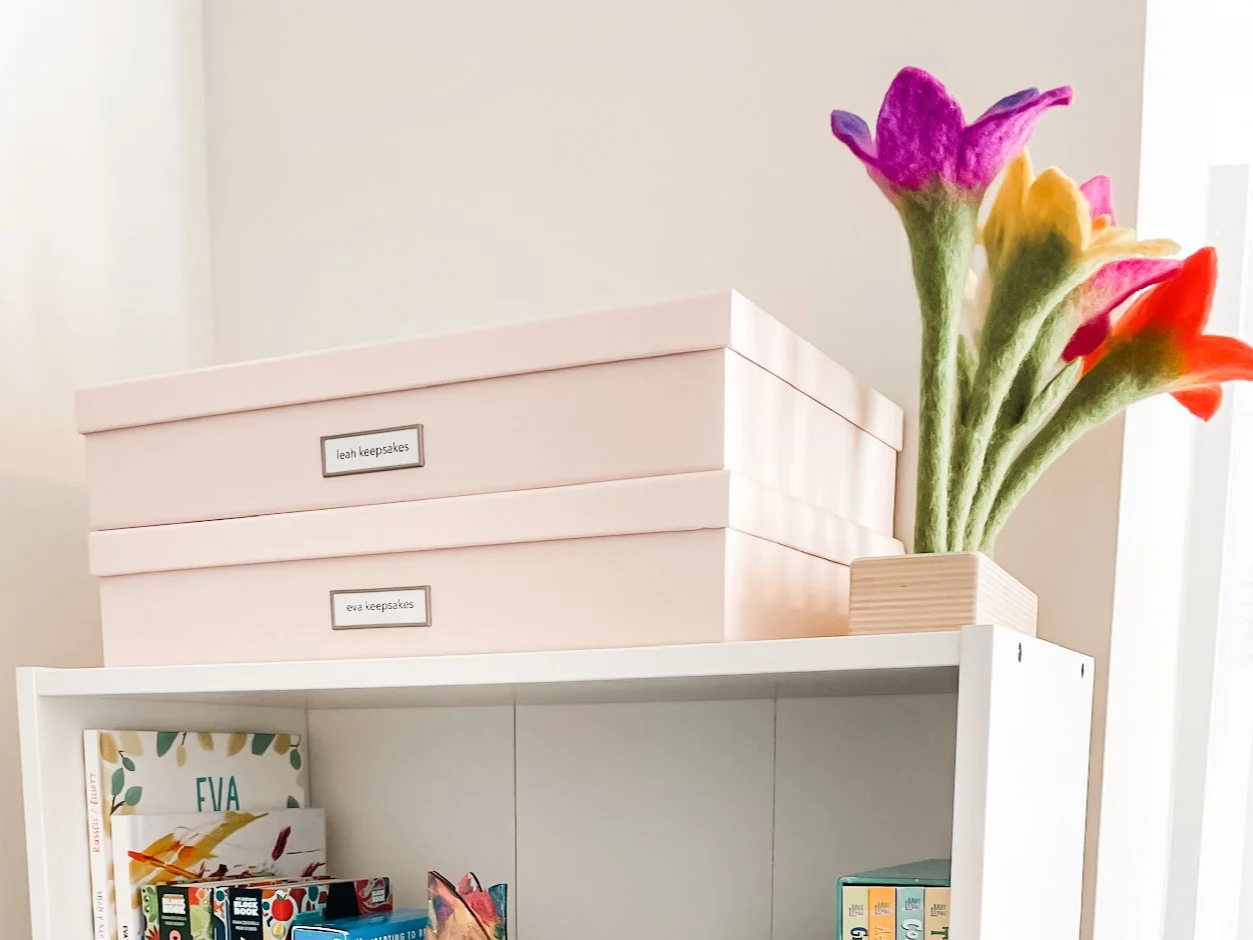
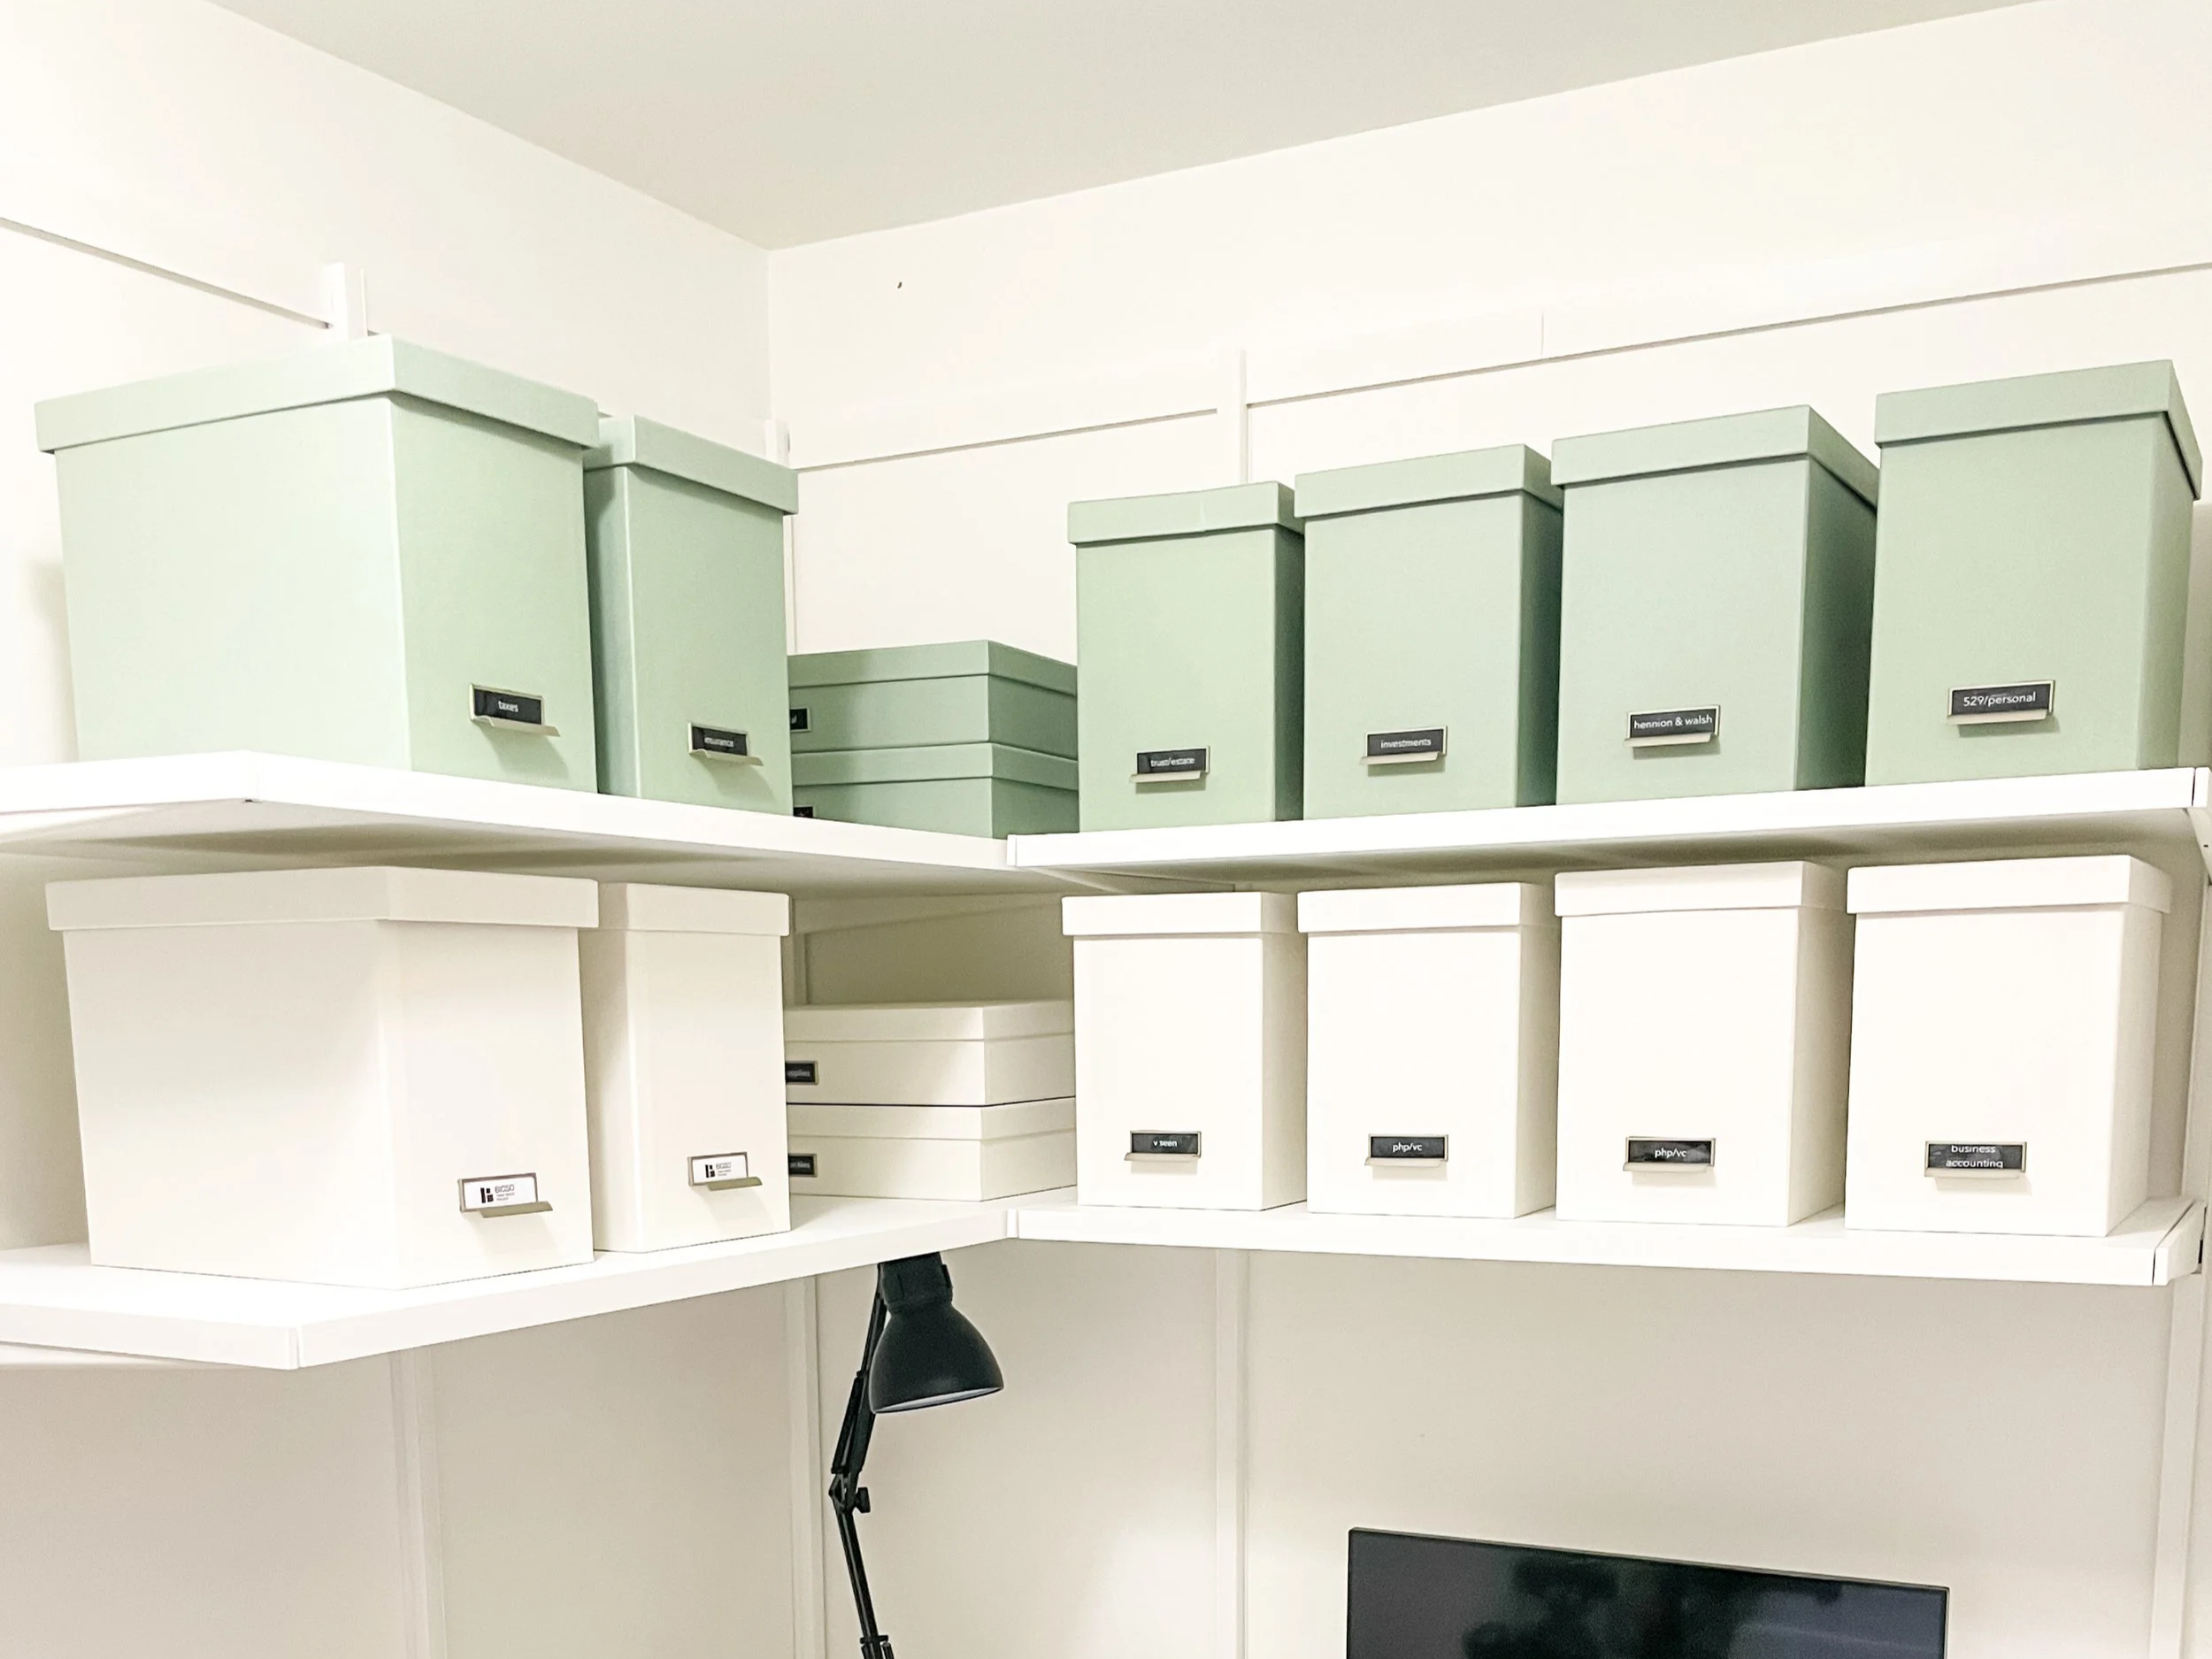
3. use boxes to create physical boundaries
Boxes aren’t just for storage—they’re a tool for decision-making. Set a maximum for what you’ll keep in each box; once it’s full, it’s time to review, purge, or digitize. We love these Bigso Document boxes. This method works especially well for kids’ artwork, which can quickly take over a home if left unchecked. Think of it as a “contain, then curate” system—you’ll thank yourself later!
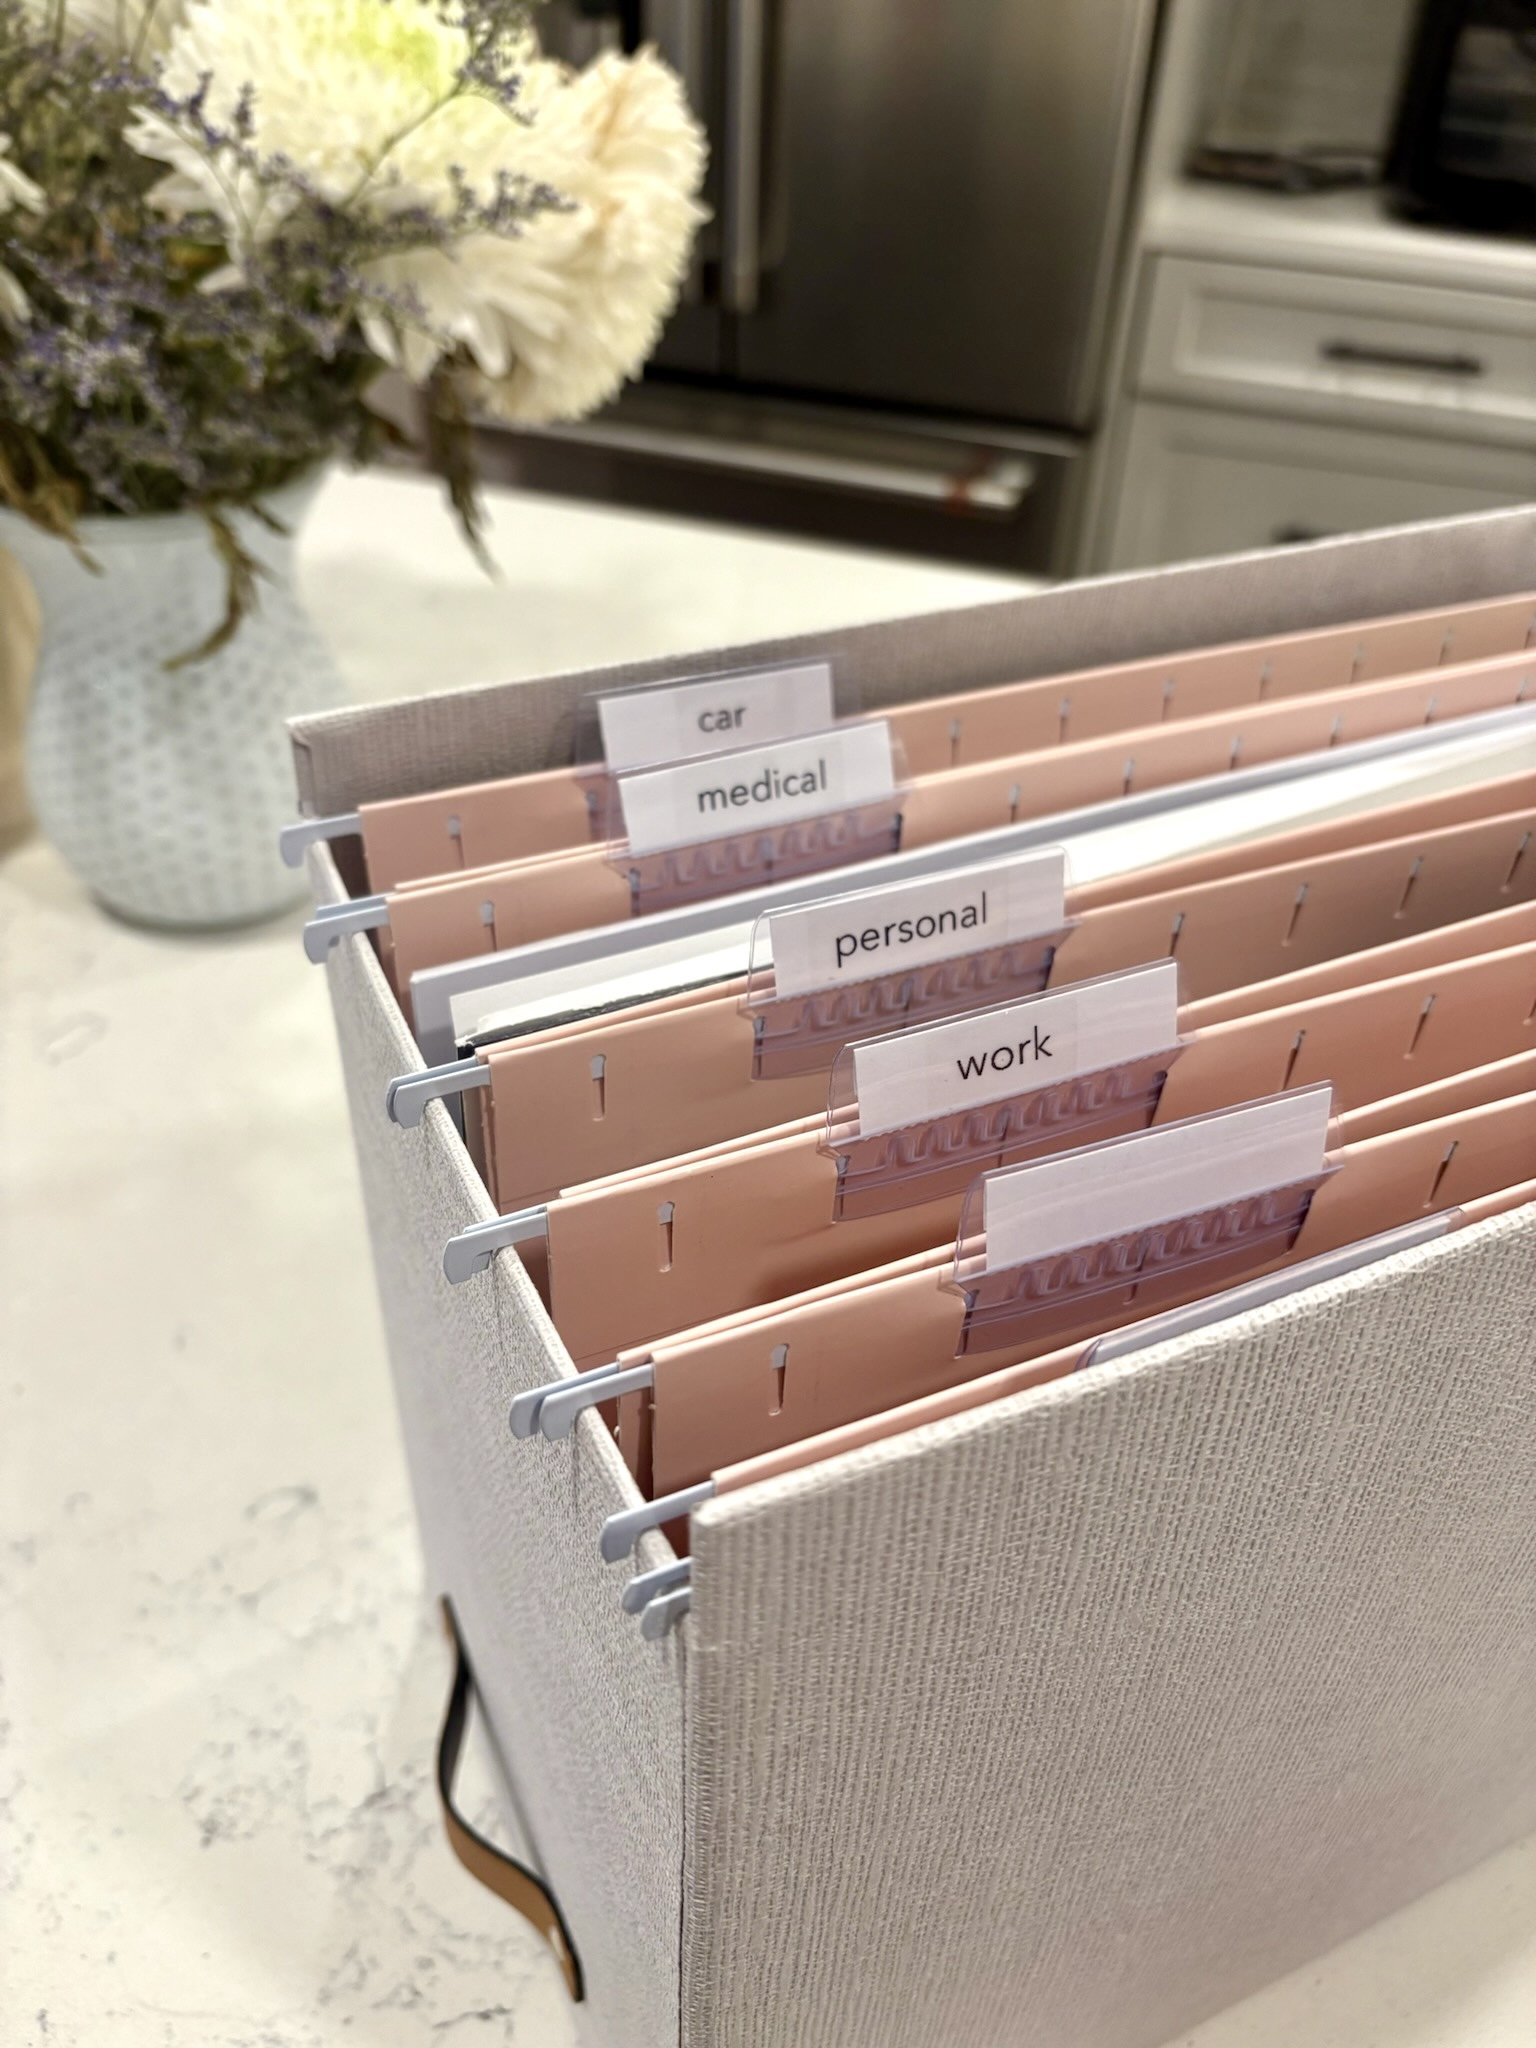
4. set up systems for active paperwork
For documents you access regularly, choose containers that suit your family size and workflow:
Desktop File Box: Chic and simple, perfect for a counter or shelf, keeping weekly forms at arm’s reach.
Plastic File Box: Ideal for larger volumes. This box can tuck neatly away in a closet.
Filing Cabinet: A stylish, functional solution for bigger families with lots of documents to reference regularly.
Sage Wisdom: Keep family paperwork and business documents in separate spaces—different drawers, boxes or cabinets. This makes finding what you need effortless and stress-free.
With these systems in place, your paperwork will finally have a home—and so will your sanity! Remember: there are no wrong choices when it comes to timeline or approach. The most important thing is to choose what works for you and stick with it. And if you need a little extra support along the way… you know exactly where to find us 😉.
Want help tackling your paperwork this spring?
Book your complimentary consultation call now to get started!